Some of the reasons I love this recipe:
- simple ingredient list--after making it a few times, you will have the recipe memorized
- 1/3 ratio of whole wheat to all purpose flour making it a great choice for introducing wheat bread to your family, or compromising how much wheat bread your family eats--I love hearty whole wheat bread but my kids prefer white bread, this is our compromise. Plus it works really well as sandwich bread for lunches
- this recipe is made by hand, no heavy duty mixer required--sometimes it's nice to not have to clean the mixer
- Umm, it's delicious!
Let's get started!
Ingredients: yeast, sugar, salt, oil
Whole wheat flour
all-purpose flour
and water.
To the warm water, add the sugar
yeast
and two cups of flour.
The original recipe says to add the 2 cups of whole wheat flour at this step. Since I usually use
the whole wheat flour in my freezer, I add 2 cups of all purpose flour at this step instead. I don't want my cold wheat flour to interfere with the yeast. If you had just ground wheat flour, or you were using store bought wheat flour that was at room temperature, you could put the whole wheat flour in at this step.
Mix all together and let it sit for ten minutes while the yeast grows.
Bubbly yeast!
Next add the oil
and the salt
and mix.
Now add two more cups of flour. If you added whole wheat flour to the yeast mixture, you would use all purpose flour here. Since I did all purpose flour at the first step, this is when I add my 2 cups of whole wheat flour. Confusing?
Mix!
Now add another cup or so of all purpose flour. Be careful! You don't want to add too much. It depends on the humidity in the air, but for this batch I only added 1 cup of all purpose flour, stirring with a wooden spoon.
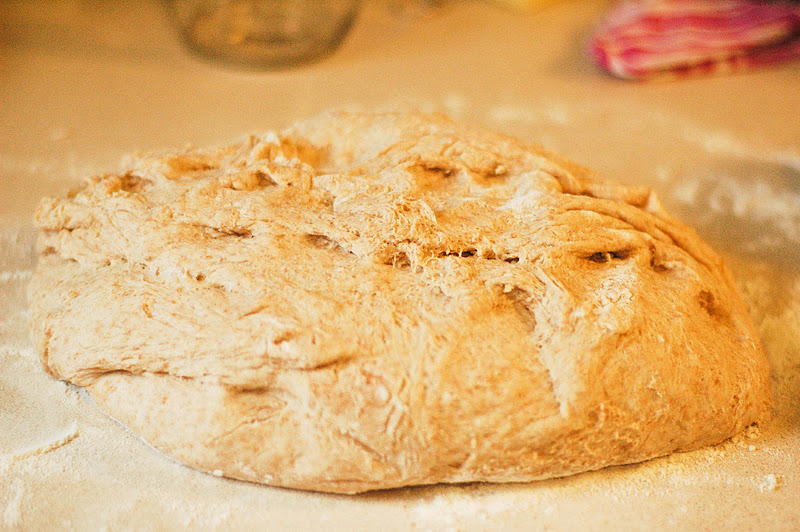
Dump the bread onto a lightly floured surface. It will be sticky, and that's good.
Now it's time to use those muscles and knead the bread. I wish I could take pictures with my nose, but I'm not that talented. Basically I use the palms of my hands to push the bread away from me, then pull it towards me with my fingers, repeat repeat repeat. Maybe I'll make a video if anyone's interested. It's kind of hard to describe kneading.
As you are kneading the dough, you will want to add flour so it doesn't stick to your hands. Use your fingers to sprinkle flour on top of the dough. Just a little at a time. If you add too much flour, your bread will be dense and heavy, we want light and fluffy.
Keep kneading until you have a smooth ball. Let it rest on the counter for about five minutes. Then knead a little bit more, adding a dusting of flour as necessary.
Pop the dough ball back in your mixing bowl
Cover with a sheet of plastic wrap
And a dish towel. Or just a dish towel...
Let it rise for an hour and a half
Gently deflate the dough by pushing down on it.
Dump it out on your counter top---I leave mine floury (no cleaning between). The dough should be light and soft.
Separate the dough into two sections using a serrated knife, and shape into two loaves.
Put your loaves into greased bread pans. I just use my misto (cooking spray) to grease the pans.
Cover with the plastic wrap and the towel, and leave on your counter for another 30 minutes.
All ready to bake!
Bake in the oven--the original recipe says 30 minutes, but my bread is always done after 25 minutes.
Look at how beautiful the bread crust is! Let the bread cool in the pans for a few minutes, then turn out onto a wire cooling rack.
You don't want to leave the bread in the pans because the heat of the pans will make the bottom of the loaf soggy.
Cool and eat! I like to freeze one loaf right away (otherwise we'll eat both loaves same day). I freeze the loaf when it's still warm, but not super warm. It just barely fogs up the bag when you put it in. Then when you defrost the loaf, it really tastes fresh.
Yum.
Double yum!
King Arthur Life Skills Bread
original recipe here
2 cups warm water
1/4 cup sugar
1 Tablespoon yeast
2 cups whole wheat flour
Mix together and let sit for ten minutes.
Add:
1/4 cup vegetable oil
1 Tablespoon salt
Mix, then add:
up to 4 cups of all purpose flour. Depending on how much the dough needs--which could vary from day to day.
When it gets too hard to stir with the spoon, dump out onto a lightly flour surface and knead. Add dusting of flour as necessary. Knead into a smooth ball. Let rest for five minutes. Knead for a few minutes more, then place back into the mixing bowl. Cover with plastic wrap and a clean towel, let rise for 1.5 hours.
Deflate dough gently and turn out onto the counter top. Gently separate into two sections using a serrated knife. Shape into two loaves and place into greased bread pans. Let rise 30 minutes covered, then bake at 375 degrees for 25-30 minutes.