
What have you made recently?


 And just because they are made with only non perishables, didn't stop me from slathering the freshly baked ones with loads of butter.
 Ingredients: Flour, powdered milk, water, honey, oil, salt, yeast and cornmeal. When 70% of the food is in nontraditional packaging, you know it's food storage.
 Start off by adding your powdered milk to a mixing bowl. When you reconstitute powdered milk you add 1/3 cup of powdered milk to 8 oz or one cup of water. Perfect measurements right? Well, when you only need 1/2 cup of milk you can still do 1/2 cup of water but you have to eyeball the powdered milk because, unfortunately for me, I don't have a 1/6 measuring cup. Oh, how I wished I did if only for the sake of food storage.
 Add the water to reconstitute the milk, as well as the water called for in the recipe.
 Add the salt
 and the honey and mix together.
 Now add half the flour
 and the yeast
 and mix again until it looks like pancake batter. I did this all by hand by the way.
 See? Pancake batter.
 Now cover and let rise for one hour.
 When you come back, the dough should look like this, all bubbly and hopefully bigger.
 Now add the oil, I used canola oil.
 And the rest of the flour. The first time I made these, I used half white flour and half whole wheat, and they were delicious. This time I used all white flour, and they were still delicious. It's a win-win situation.
 Mix together, if you aren't using a mixer, you may have to get your hands dirty a little bit to combine the dough.
 Sprinkle a clean surface with cornmeal
 And roll out the dough
 Dip a cup or cookie cutter into flour to keep it from sticking to the dough
 Princesses are very big at our house and coincidentally are perfect size for making english muffins.
 Cut out the english muffins, and when you've cut out as many as you can out of one rolling, gather up the leftover dough and roll out again to cut out more muffins.
 And place them on a sheet of wax paper. Place them cornmeal side down (not like I did) and then they won't stick to the wax paper.
 I can't remember from making these how many the recipe turns out, but it looks like from this picture there are 18.
 Cover with a clean dishtowel and let rise for another hour.
 They should look like this, nice and puffy.
 Heat a griddle over medium high heat and drizzle with a little oil to make a nonstick surface.
 Grill your english muffins on each side. You'll have to watch your first batch carefully to determine what your optimum cooking time is. You want them to be browned on each side and it's okay to taste test one to make sure its done in the middle.
 Hello, beautiful. You can actually pull this apart with your hands, just like the store bought ones, no knife necessary.
 Eat straight off the griddle, or toast to have with your breakfast in the morning. They are delicious any way you try them!
 Today's recipe comes from the back of the quick barley box. I can't remember why Mountain Man was holding the box (maybe shifting contents of the cupboard?) but he looked at the back and said, hey this looks delicious...hey! it's food storage friendly! What a catch.
 Canned goods: Salsa, black beans, diced tomatoes, whole kernel corn, chicken
 Seasonings: cumin, chili powder, and chicken bouillon. The recipe calls for chicken stock, but I store bouillon instead for space saving.
 Star of our show! Barley has a delicious texture. I like it better than rice.
 In the pot add the tomatoes, salsa, and bouillon
 Don't forget to add the water for the bouillon when you add the water from the recipe.
 Add the barley
 chili powder
 cumin
cumin And bring to a boil. When it's bubbling nicely, turn the heat down to a simmer and let it go, covered for 20 minutes.
 Use this downtime to drain your canned chicken
 and shred it for better texture.
 Also drain and rinse your beans now. You drastically reduce the amount of sodium in your canned beans by draining and rinsing them.
 Corn, undrained!
 Beans
Beans chicken
 Stir it all together.
 Bring to another boil over high heat. Then reduce the heat again and let simmer for 5 minutes or until your barley is done. My barley was done before five minutes were over.
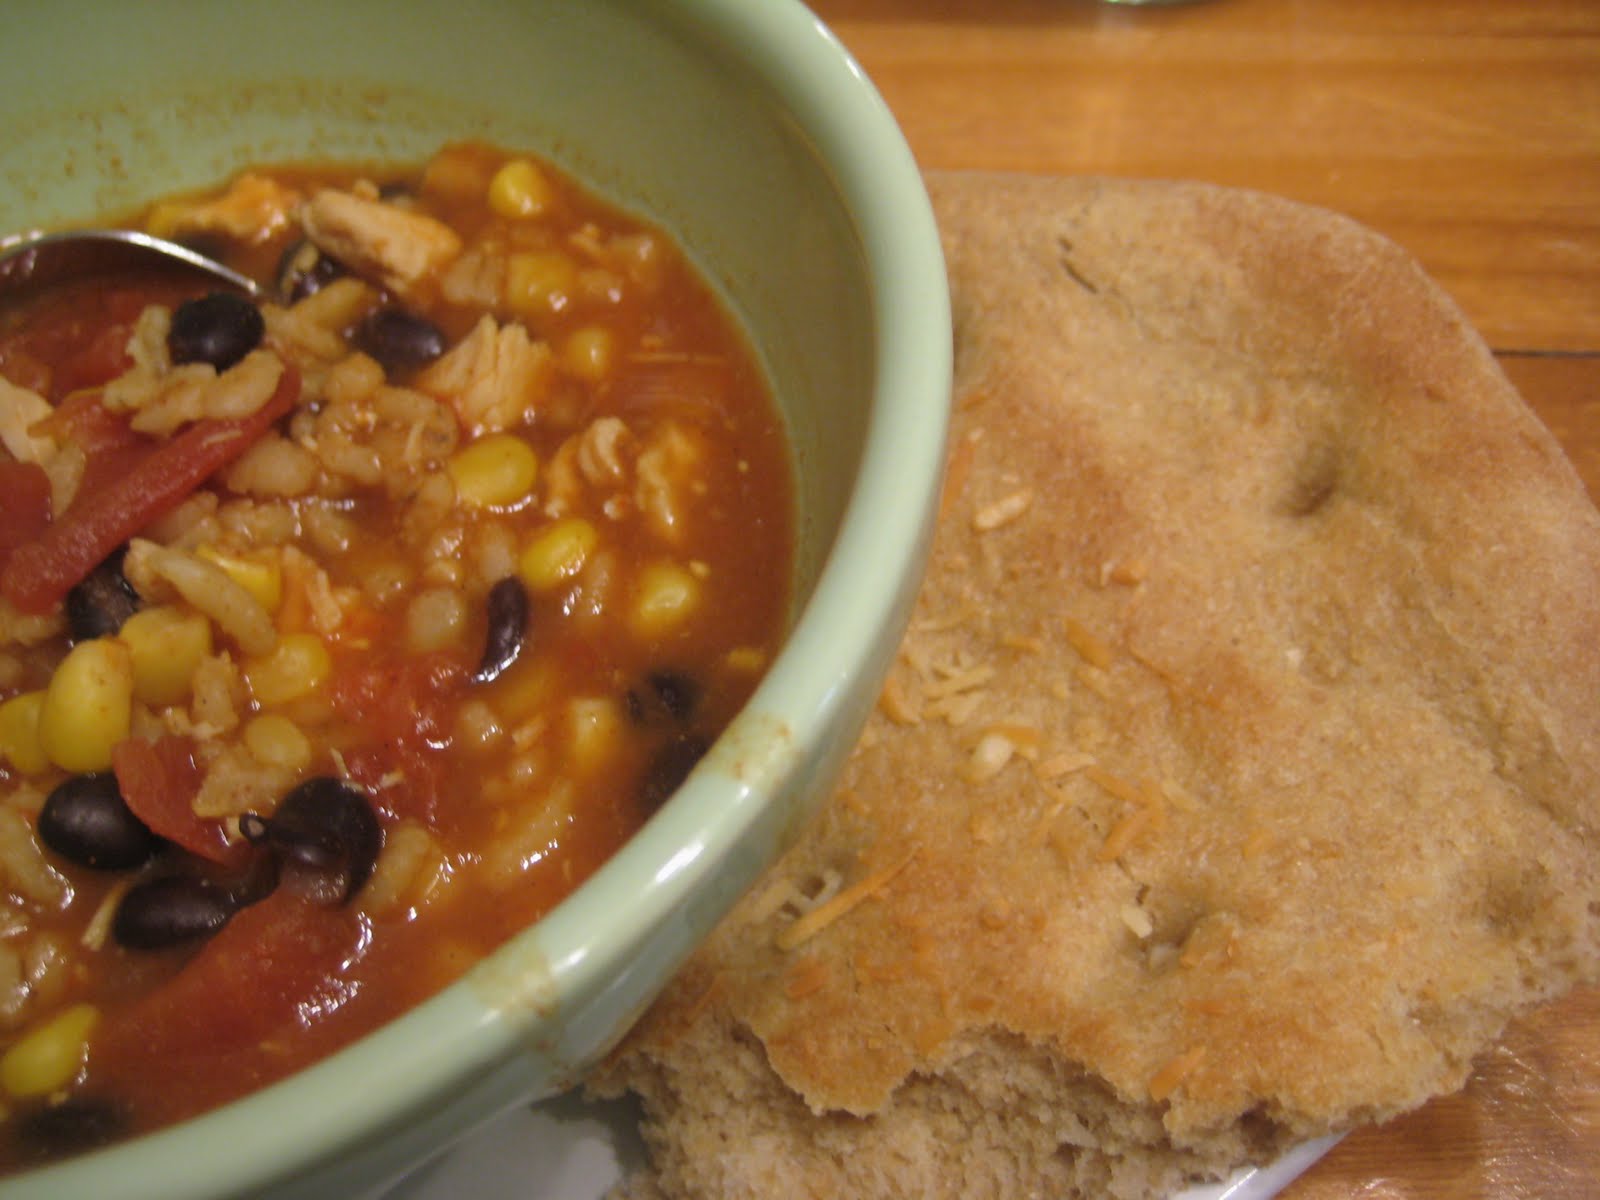
 The result? A delicious and hearty food storage chili.
 Served with a little whole wheat focaccia is just what the doctor ordered for a chilly night.


 SafelyGatheredIn.blogspot.com is licensed under a Creative Commons Attribution-Noncommercial-No Derivative Works 3.0 United States License.

