-->

Friday, March 30, 2012

Food Storage Friday: Chocolate-Apricot Nut Bars

I've had a rough week with my electronics.  My LCD screen on my DSLR camera went white and I haven't been able to fix it. Meaning I have no control over the camera settings.  I was just learning how to take some good pictures and the camera goes kapoot!  THEN today, my laptop kicked the bucket. Won't even turn on or anything. Besides the obvious frustration with losing two of my most useful blogging side-kicks, my pictures for these bars were on my now-dead laptop. Argh.

After pulling out my hair and kicking and screaming, I took a terrible shot from my phone of these delicious bars, and here's the recipe so you can give them a try.

Chocolate-Apricot Nut Bars
Whole Living Magazine

1 1/2 cups dried apricots
1/2 cup raw almonds, toasted
2 Tbsp unsweetened, shredded coconut, toasted
coarse salt
1/2 oz dark chocolate, melted

Combine apricots, almonds and 1/2 the coconut with a pinch of salt in a food processor. Pulse until finely ground. Line a bread pan with parchment paper and press the mixture into the pan forming a flat loaf. Sprinkle remaining coconut and drizzle with chocolate. Chill in fridge for 15 minutes, cut into bars and store in an airtight container for up to 5 days.

My notes:  Don't use a blender. I gave it a whirl (hehe) but it couldn't hack it, so I had to transfer over to the food processor and then had to wash both the blender and the food processor, boo. 

I didn't toast the coconut. I didn't use coarse salt. I used toasted almonds, not raw ones that I then toasted.

They are super yummy!

Tuesday, March 27, 2012

Food Storage Tuesday - Rotation week!

Every Tuesday, we post specific items you should gather in order to supplement your emergency car kit, your three-month supply, and your longer term storage.  If you are new to our blog, don't worry!  You won't be left behind.  Just start up where we are and follow along.  You will eventually have everything completed.  Once the car kit is complete, we'll be putting together 72-hour kits again (week by week).  Once those are done, we'll gather the car kits again.  So don't worry, just jump on in and join us where we are today! 

Ok.... I know that we just started on our emergency car kits last week, but we're actually taking a break from that this week.  Why?  Well, it's General Conference weekend coming up this week.  If you are Mormon, you know exactly what this is: basically, we have a chance to listen to our prophet and apostles speak to us as a Church.  This happens every six months: early April, and early October.  Since 6 months is a good time between rotations, here on our blog we use this conference as a reminder to rotate our 72-hour kits and our emergency car kits.  

Rotate what?  Basically, you want to check any food in your kits to be sure it has not expired.  Rotate your water bottles out.  Check your batteries and whatever else needs to "work".  Finally, rotate your clothes for the new season (according to your climate).  Check clothing sizes, diaper/wipes, etc.  Make sure everything is replaced that you may have used during the last 6 months.

When we have done this reminder in the past, we've gotten some great ideas for how families do this.  Some make it a big family project that they do between conference sessions, or in the morning before conference starts.  I have heard of other families who actually eat through all (or most) of their 72-hour kit food during this weekend, then replace all of it for their kits.  This would be a great way to be sure you are 1) packing enough food for your family, and 2) packing food that your family enjoys eating!  I think this is a great idea!

Since this is quite a job (especially if you have a big family/multiple cars), this is all I'm doing this week as far as food storage.  Of course, we're still working on our garden and I'll give you an update later this week on how that's going.

In March, we've been gathering beans for our longer-term storage.  Next month, we're moving on to rice!

Monday, March 26, 2012

Motivational Monday

“The key to spending less than we earn is simple—it is called discipline. Whether early in life or late, we must all eventually learn to discipline ourselves, our appetites, and our economic desires. How blessed is he who learns to spend less than he earns and puts something away for a rainy day”

President N. Eldon Tanner
(see Conference Report, Oct. 1979, 119; or Ensign, Nov. 1979, 81).

Friday, March 23, 2012

Food Storage Recipe: Homemade Larabars


I have been looking for some "healthy" energy bar recipes lately - something that has a lot of calories that my husband can grab on his way out the door for work (lots of calories so that it can be his full meal).  These certainly do the trick.  Store-bought Larabars (like most good energy bars) can be pretty expensive, so this is a great alternative to paying a lot at the store.


I found the recipe here on "Foodie With Family", a really cute blog that I'm looking forward to reading more of!  Her food looks delicious and the blog is laid out really nicely.


So, let's get down to business!  First of all.... I don't have a food processor, which is a problem since this calls for one.  However, I do have a Magic Bullet, which I use daily.  So, I decided to give it a whirl.  The original recipe makes 30 servings, which I knew my Magic Bullet could not handle.  I cut the recipe down to 1/4 of the original, and it was the perfect amount to bring and share with the other moms and playgroup this morning.


So, the recipe (1/4 of the original... go ahead and make the full batch, or a half batch, if you have a food processor that can handle it!)... I will give you a quick rundown, but feel free the visit the original recipe for more details and some nice pictures:


1 cup whole, pitted dates
1/2 cup whole almonds (raw or toasted, I used raw/salted)
1/4 cup chocolate chips
1/2 Tbsp natural peanut butter


First, pulse your whole almonds in the food processor until they are crumbly, almost like bread crumbs.  Add the chocolate chips and mix until they are also finely chopped.  Set aside in a separate bowl.


Next, add your dates and mix until smooth (it will be like a really thick, sticky paste).  This was pretty hard to do in my Bullet, but eventually I got it all pretty smooth.  Next, add your peanut butter and mix with the date paste.


This part is a little bit different from the original recipe: next, I just dumped the paste into my almonds/chocolate, and mixed them together by hand.  I knew my Bullet probably couldn't handle much more than the paste by itself.


Dump onto parchment paper inside a pan... I used a bread loaf pan since I had only made 1/4 the recipe (I cut it into 8 slices eventually).  I think they turned out a bit thinner than they were supposed to but that's fine with me - they were still pretty filling!  Refrigerate for a few hours, then cut and serve! (or wrap them up and keep them in the fridge until you want to eat them)


These were a big hit at the playgroup - even the kids loved them!  Give them a try, I don't think you will regret it!

Tuesday, March 20, 2012

Food Storage Tuesday

Every Tuesday, we post specific items you should gather in order to supplement your emergency car kit, your three-month supply, and your longer term storage.  If you are new to our blog, don't worry!  You won't be left behind.  Just start up where we are and follow along.  You will eventually have everything completed.  Once the car kit is complete, we'll be putting together 72-hour kits again (week by week).  Once those are done, we'll gather the car kits again.  So don't worry, just jump on in and join us where we are today! 


Well, we have completed another round of gathering 72-hour kits... hopefully you were able to follow along and now have kits for everyone in your family!  If you didn't get it all done, that's okay.  You can of course feel free to continue working on it as you find extra money and things on sale.  We are moving on, though, to our next project: Car kits!!  You can read more about car kits on our car kit page here.  


You should make a kit for each car that you own.  This week, take a look at the car kit list and see if there's anything you already own that you can put in your kit (just don't take things out of your 72-hour kits!).  Also this week, find a box that you can put everything in.  I like to use a small/medium sized tupperware box.   A few of the things don't fit in the box (like a towel/blanket), but that's fine with me (I just keep them outside the box).


How's your three-month supply coming along?  It is so much easier if you make a complete 12-week meal plan, then go from there.  It's hard to know how much food you really need until you sit down and make this list, and make a shopping list. You can check out how to plan your three-month supply here.


This month for our longer-term storage, we are gathering beans!

Monday, March 19, 2012

Motivational Monday


“Without self-reliance one cannot exercise these innate
desires to serve. How can we give if there is nothing there?
Food for the hungry cannot come from empty shelves.
Money to assist the needy cannot come from
an empty purse. Support and understanding
cannot come from the emotionally starved.
Teaching cannot come from the unlearned.
And most important of all, spiritual guidance
cannot come from the spiritually weak.”

~President Marion G. Romney (1897–1988)

Friday, March 16, 2012

Food Storage Friday: Pumpkin Bread


I'm one of those people who can eat pumpkin flavored food all year long. Spring summer, fall and winter, I just love pumpkin.  Here's a delicious, moist pumpkin bread to enjoy this beautiful spring.  Original recipe can be found at Bakingdom.


Dry ingredients: flour, salt, baking soda, cinnamon, cloves, nutmeg (cut out the white sugar and put it in the picture with the wet ingredients.)

 
Mix all the dry ingredients together


Wet ingredients: oil, applesauce, brown sugar, canned pumpkin, water (x2) and flaxseed eggs  (and the white sugar from the dry ingredients picture)


First, mix your flaxseed and water together to make your "eggs." You want to let this sit for a little bit before mixing it into everything else.


Oil your pans---I'm doing 2 regular loaves and 2 mini loaves and there was plenty.


Mix up all the wet ingredients


Then add wet ingredients into the dry ingredients


Mix, but not too much!


Portion into bread pans  and bake!


Yum!  Smells amazing.


There you have moist, yummy pumpkin bread, all food storage friendly.

 Food Storage Pumpkin Bread
original recipe by Bakingdom

3 1/2 cups flour
2 teaspoons baking soda
1 teaspoon salt
1 teaspoon ground cinnamon
1 teaspoon ground nutmeg
1/2 teaspoon ground cloves
1/2 cup canola oil
1/2 cup apple sauce
1 1/2 cups sugar
1/2 cup brown sugar, packed
1/4 cup ground flaxseeds combined with 3/4 cup water
1 15-ounce can pumpkin puree
2/3 cup water

Preheat oven to 350 degrees F. Combine flaxseed with water and let sit for a few minutes.  Oil bread pans.  Combine flour, baking soda, salt, and spices in a large mixing bowl. Combine all wet ingredients, including flaxseed mixture, in a small mixing bowl. Combine wet and dry ingredients and mix together until moistened.  Bake for 50 minutes or until toothpick inserted in middle comes out dry.

Monday, March 12, 2012

Motivational Monday

“The world would take people out
of the slums. Christ takes the slums out of
people, and then they take themselves out
of the slums. The world would mold men by
changing their environment. Christ changes
men, who then change their environment.
The world would shape human behavior, but
Christ can change human nature.”

~President Ezra Taft Benson (1899–1994)

Friday, March 9, 2012

Food Storage Friday: Recipe Roundup 2

I've got life skills bread raising on my counter and chicken barley chili warming up (from the freezer) in the microwave.  Thought I'd share a couple of recipes I've made from around the web that are food storage friendly and delicious!


This MMM sauce from Peas and Thank You is made from nonperishable items and is amazing. It got a big thumbs up from Mountain Man. I served it over rice with a protein side, but it would be good on ANYTHING.

Next up, these Fig and Walnut cookies were a hit with the grownups in the house this week. I actually used chopped dates (find them next to the raisins) instead of the figs. Yum.  Thanks to the Smart Kitchen for that winner recipe.

Have a great weekend!

Thursday, March 8, 2012

Northern Garden--Planning Stages

Since it's a bit colder up north, I'm not having to worry about my garden quite as soon as Hannah.

Mountain Man and I left our house behind in Georgia (and our backyard garden) and are currently camping out in an apartment. But luckily for us, our apartment complex has a community garden where you can sign up for plots to garden in during the season. I plan on having a garden plot in the community garden and then planting my herb garden by my front door in the flower bed, so I can have it nearby.

I used Sprout Robot to tell me when I need to start worrying about my plants.

I just typed in my zip code here


And then a list popped up telling me when I should either start my plants inside, or start them outside.

So during the week of April 9th:
*I plant my parsley outside
*I start my bell peppers inside as well as my tomatoes

April 30th:
*Cucumbers, dill and cilantro all get planted outside

May 14th:
*Cantaloup, summer squash, and mint are all planted

May 28th:
*Time for the basil


You can click on one of the items for more in depth instructions on how to plant certain plants


And they'll even ask you which type of garden you're planning: container or regular planting bed.

So in short, I'm planning to plant two gardens

herb garden:
basil
parsley
cilantro
thyme (hopefully will pull through from last year)
rosemary (ditto)
dill

garden plot:
tomatoes
cucumbers
bell peppers
summer squash
zucchini
cantaloup

Any other northerners out there planning a garden for this coming growing season?

Tuesday, March 6, 2012

Food Storage Tuesday

Every Tuesday, we post specific items you should gather in order to supplement your 72-hour kit, your three-month supply, and your longer term storage.  If you are new to our blog, don't worry!  You won't be left behind.  Just start up where we are and follow along.  You will eventually have everything completed.  Once the 72-hour kit is complete, we'll be putting together emergency car kits again (week by week).  Once those are done, we'll gather the 72-hour kits again.  So don't worry, just jump on in and join us where we are today!  


We are finishing up the 72-hour kits this week!!  This week, add some hand warmers/canned heat.  This is especially important if you live in a colder climate.  You can probably find these at most sport stores, as well as Amazon here.

Also this week, go over our 72-hour kit list and make sure you have everything you need.

How's your three-month supply coming along?  Remember, the goal is that you are prepared enough that you could stay home for 3 months and have everything you need.  Be sure everyone in your family is taken care of, including your pets!  Don't forget toiletries, cleaning supplies, etc.

This month for our longer-term storage, we're gathering beans!!

Monday, March 5, 2012

Motivational Monday

"It is easy in the world to live after the world's opinion; it is easy in solitude after own own; but the great man is he who in the midst of the crowd keeps with perfect sweetness the independence of solitude."

Ralph Waldo Emerson (1803-1882)
-- Series I. Self-Reliance

Friday, March 2, 2012

FSF from the Archives: Chicken Barley Chili

This week we had Chicken Barley Chili again and I was reminded how much I love barley. It's such a delicious grain. I used regular barley instead of quick this time, and used (fresh) chicken instead of canned. Yummy recipe, you must try!
Today's recipe comes from the back of the quick barley box. I can't remember why Mountain Man was holding the box (maybe shifting contents of the cupboard?) but he looked at the back and said, hey this looks delicious...hey! it's food storage friendly! What a catch.


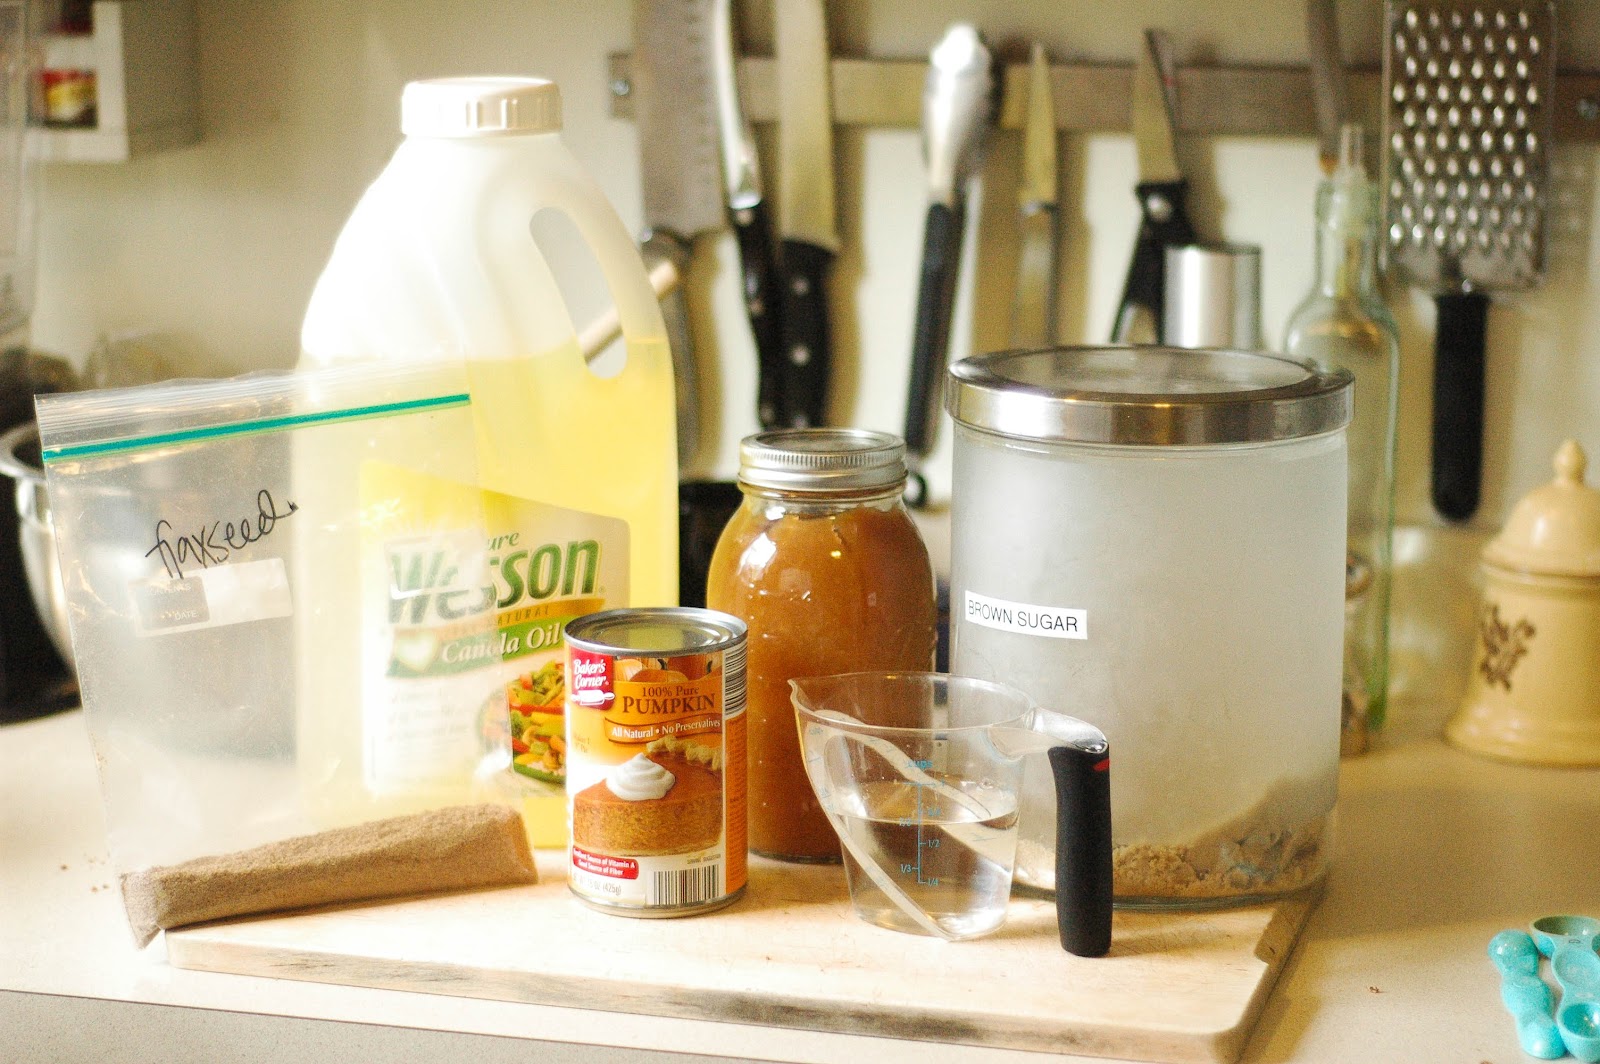
Canned goods: Salsa, black beans, diced tomatoes, whole kernel corn, chicken

Mountain Man commented that a good way to get onions into a food storage dish is to add salsa.


Seasonings: cumin, chili powder, and chicken bouillon. The recipe calls for chicken stock, but I store bouillon instead for space saving.

Star of our show! Barley has a delicious texture. I like it better than rice.


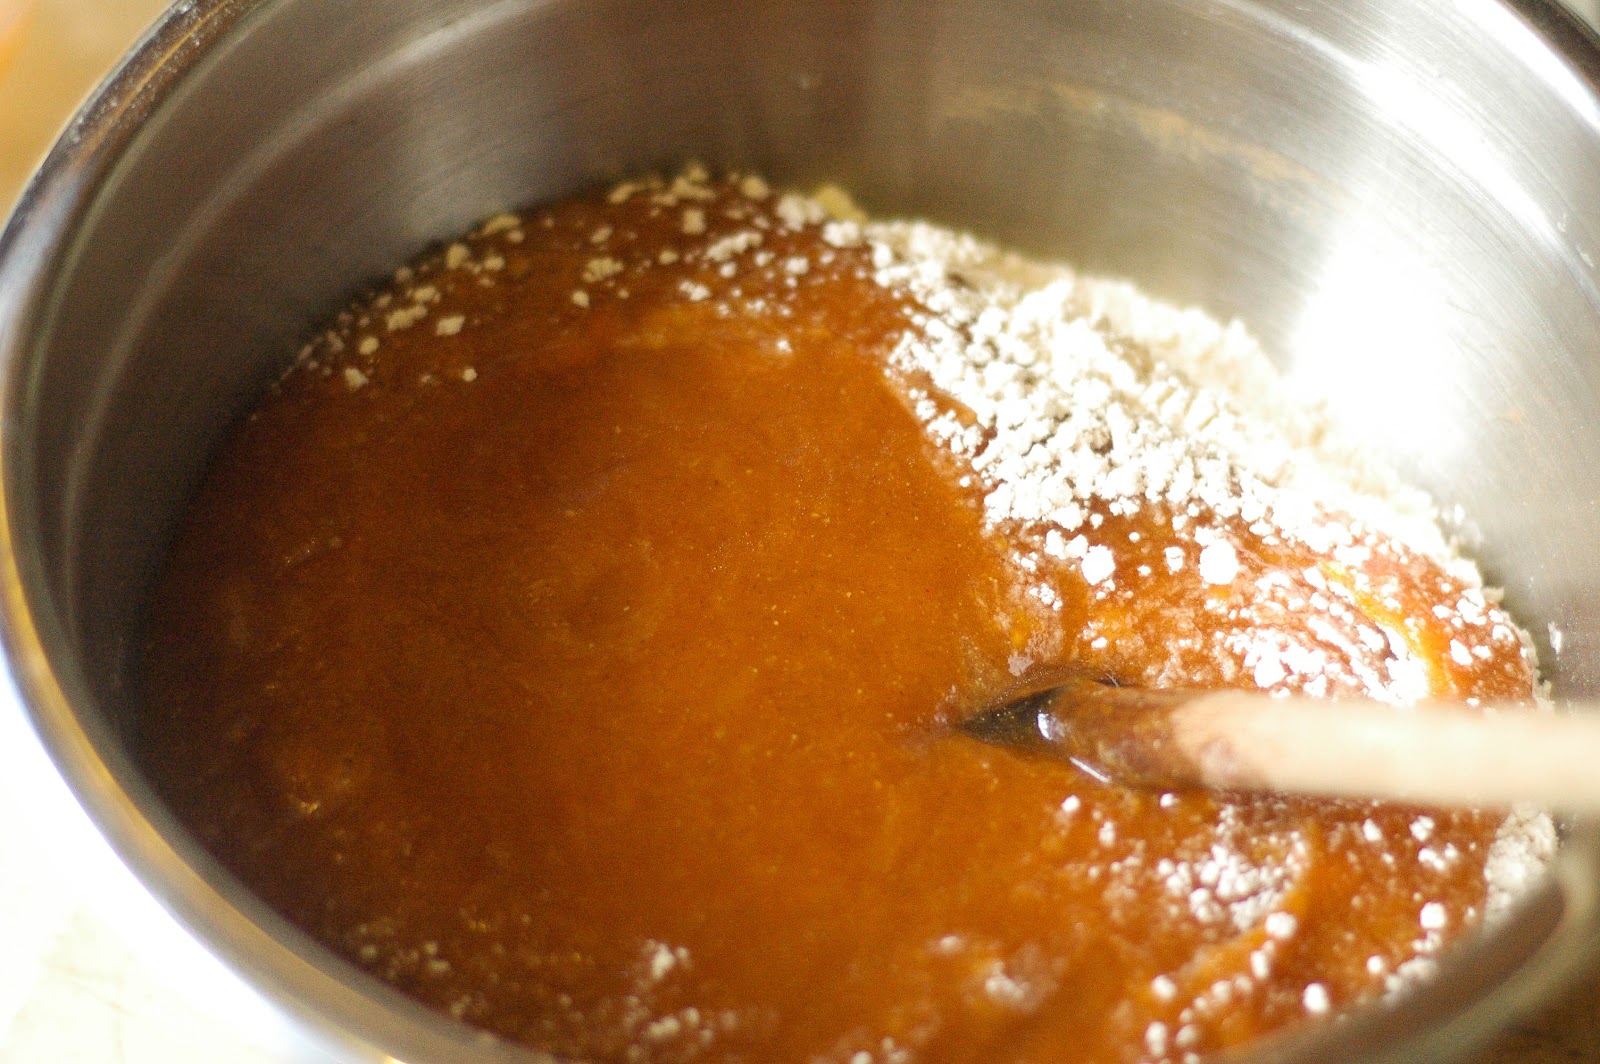
In the pot add the tomatoes, salsa, and bouillon

Don't forget to add the water for the bouillon when you add the water from the recipe.

Add the barley
chili powder

cumin

And bring to a boil. When it's bubbling nicely, turn the heat down to a simmer and let it go, covered for 20 minutes.


Use this downtime to drain your canned chicken


and shred it for better texture.


Also drain and rinse your beans now. You drastically reduce the amount of sodium in your canned beans by draining and rinsing them.

After the soup has simmered for 20 minutes, it's time to add the rest of the ingredients.

Corn, undrained!

Beans
chicken
Stir it all together.

Bring to another boil over high heat. Then reduce the heat again and let simmer for 5 minutes or until your barley is done. My barley was done before five minutes were over.

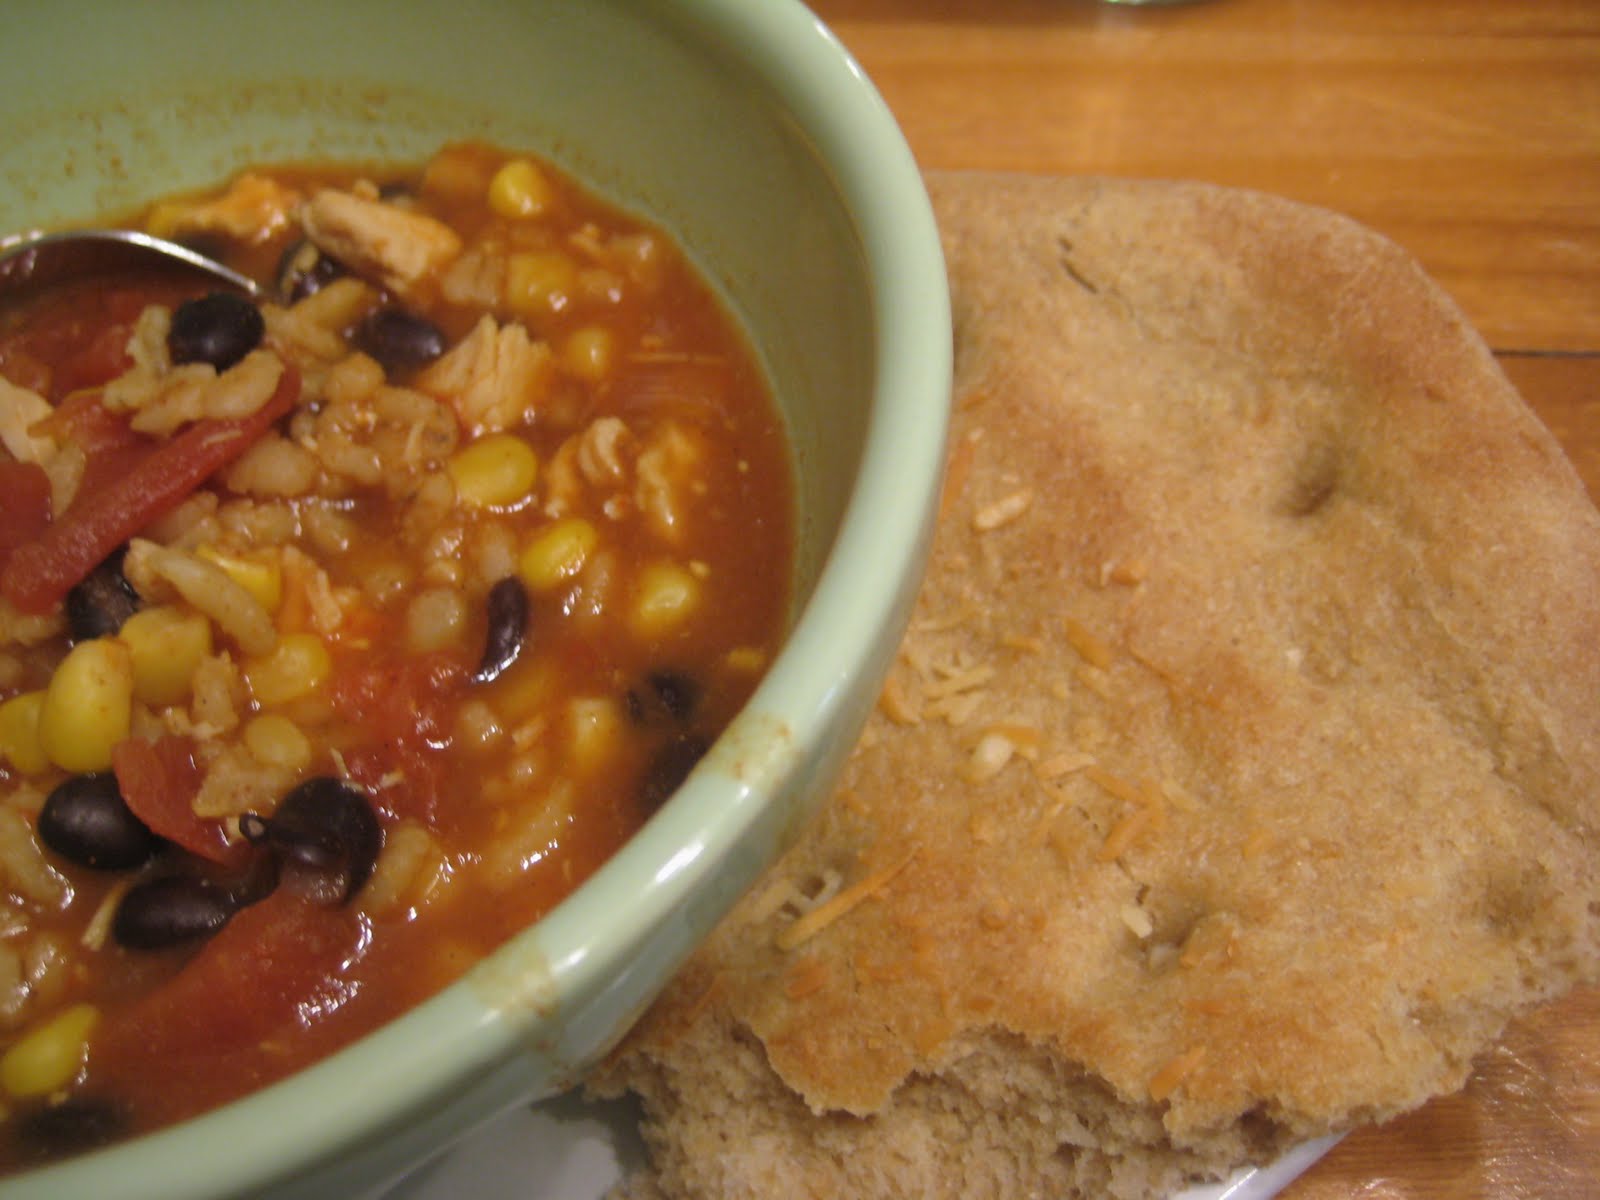
The result? A delicious and hearty food storage chili.


Served with a little whole wheat focaccia is just what the doctor ordered for a chilly night.


Chicken Barley Chili
on the back of the Quaker Quick Barley Box

1 (14oz) can diced tomatoes
1 (16oz) jar salsa
1 (14oz) can chicken broth (or I used 2 chicken bouillon cubes and 2 cups of water)
1 cup quick barley
3 cups water
1 Tbsp chili powder
1 tsp cumin

Combine these 7 ingredients into a (big) pan. Bring to a boil over high heat, cover, and reduce heat to low. Simmer for 20 minutes, stirring occasionally.

1 (15oz) can black beans, drained and rinsed
1 (15oz) can corn, undrained
1-2 (13oz) can chicken (I used one can and I thought it was plenty)

Rinse and drain black beans. Shred chicken in separate bowl. Then add chicken, black beans and corn to the chili mixture. Increase the heat to high and again bring to a boil. Cover and reduce to low and let simmer for 5 minutes or until barley is tender. Makes 11 cups.

Originally posted March 11, 2011

Thursday, March 1, 2012

Southern Gardening Update

Hannah is planting a raised-bed garden in Florida - follow along with her if you are in a similar climate!

My husband and I finally filled our 4x4 raised bed with a mixture of soil, vermiculite, and compost last weekend.  It looks great - I'd post a picture but it's been raining ever since!  Plus, we covered it with a tarp for now so that it doesn't get covered with leaves (we seem to be finishing up the Fall season here......been raking a lot lately!).

We also plotted out what we will be growing.  We have 16 square feet to work with.  We'll be doing two squares of Roma tomatoes (one plant in each square) 2 squares of cherry tomatoes (one plant in each), one square of beefsteak tomatoes (one plant) (can you tell we love tomatoes??).  We'll also be doing two squares of red peppers, two of salad lettuce, one of carrots, one of green onions, one watermelon, two strawberries, and one canteloupe.  I think that leaves one left, and we are still trying to decide what to put there.  Any suggestions??

What are you planting this year?