-->
Showing posts with label Food Storage Recipes. Show all posts

Friday, March 30, 2012

Food Storage Friday: Chocolate-Apricot Nut Bars

I've had a rough week with my electronics.  My LCD screen on my DSLR camera went white and I haven't been able to fix it. Meaning I have no control over the camera settings.  I was just learning how to take some good pictures and the camera goes kapoot!  THEN today, my laptop kicked the bucket. Won't even turn on or anything. Besides the obvious frustration with losing two of my most useful blogging side-kicks, my pictures for these bars were on my now-dead laptop. Argh.

After pulling out my hair and kicking and screaming, I took a terrible shot from my phone of these delicious bars, and here's the recipe so you can give them a try.

Chocolate-Apricot Nut Bars
Whole Living Magazine

1 1/2 cups dried apricots
1/2 cup raw almonds, toasted
2 Tbsp unsweetened, shredded coconut, toasted
coarse salt
1/2 oz dark chocolate, melted

Combine apricots, almonds and 1/2 the coconut with a pinch of salt in a food processor. Pulse until finely ground. Line a bread pan with parchment paper and press the mixture into the pan forming a flat loaf. Sprinkle remaining coconut and drizzle with chocolate. Chill in fridge for 15 minutes, cut into bars and store in an airtight container for up to 5 days.

My notes:  Don't use a blender. I gave it a whirl (hehe) but it couldn't hack it, so I had to transfer over to the food processor and then had to wash both the blender and the food processor, boo. 

I didn't toast the coconut. I didn't use coarse salt. I used toasted almonds, not raw ones that I then toasted.

They are super yummy!

Friday, March 23, 2012

Food Storage Recipe: Homemade Larabars


I have been looking for some "healthy" energy bar recipes lately - something that has a lot of calories that my husband can grab on his way out the door for work (lots of calories so that it can be his full meal).  These certainly do the trick.  Store-bought Larabars (like most good energy bars) can be pretty expensive, so this is a great alternative to paying a lot at the store.


I found the recipe here on "Foodie With Family", a really cute blog that I'm looking forward to reading more of!  Her food looks delicious and the blog is laid out really nicely.


So, let's get down to business!  First of all.... I don't have a food processor, which is a problem since this calls for one.  However, I do have a Magic Bullet, which I use daily.  So, I decided to give it a whirl.  The original recipe makes 30 servings, which I knew my Magic Bullet could not handle.  I cut the recipe down to 1/4 of the original, and it was the perfect amount to bring and share with the other moms and playgroup this morning.


So, the recipe (1/4 of the original... go ahead and make the full batch, or a half batch, if you have a food processor that can handle it!)... I will give you a quick rundown, but feel free the visit the original recipe for more details and some nice pictures:


1 cup whole, pitted dates
1/2 cup whole almonds (raw or toasted, I used raw/salted)
1/4 cup chocolate chips
1/2 Tbsp natural peanut butter


First, pulse your whole almonds in the food processor until they are crumbly, almost like bread crumbs.  Add the chocolate chips and mix until they are also finely chopped.  Set aside in a separate bowl.


Next, add your dates and mix until smooth (it will be like a really thick, sticky paste).  This was pretty hard to do in my Bullet, but eventually I got it all pretty smooth.  Next, add your peanut butter and mix with the date paste.


This part is a little bit different from the original recipe: next, I just dumped the paste into my almonds/chocolate, and mixed them together by hand.  I knew my Bullet probably couldn't handle much more than the paste by itself.


Dump onto parchment paper inside a pan... I used a bread loaf pan since I had only made 1/4 the recipe (I cut it into 8 slices eventually).  I think they turned out a bit thinner than they were supposed to but that's fine with me - they were still pretty filling!  Refrigerate for a few hours, then cut and serve! (or wrap them up and keep them in the fridge until you want to eat them)


These were a big hit at the playgroup - even the kids loved them!  Give them a try, I don't think you will regret it!

Friday, March 16, 2012

Food Storage Friday: Pumpkin Bread


I'm one of those people who can eat pumpkin flavored food all year long. Spring summer, fall and winter, I just love pumpkin.  Here's a delicious, moist pumpkin bread to enjoy this beautiful spring.  Original recipe can be found at Bakingdom.


Dry ingredients: flour, salt, baking soda, cinnamon, cloves, nutmeg (cut out the white sugar and put it in the picture with the wet ingredients.)

 
Mix all the dry ingredients together


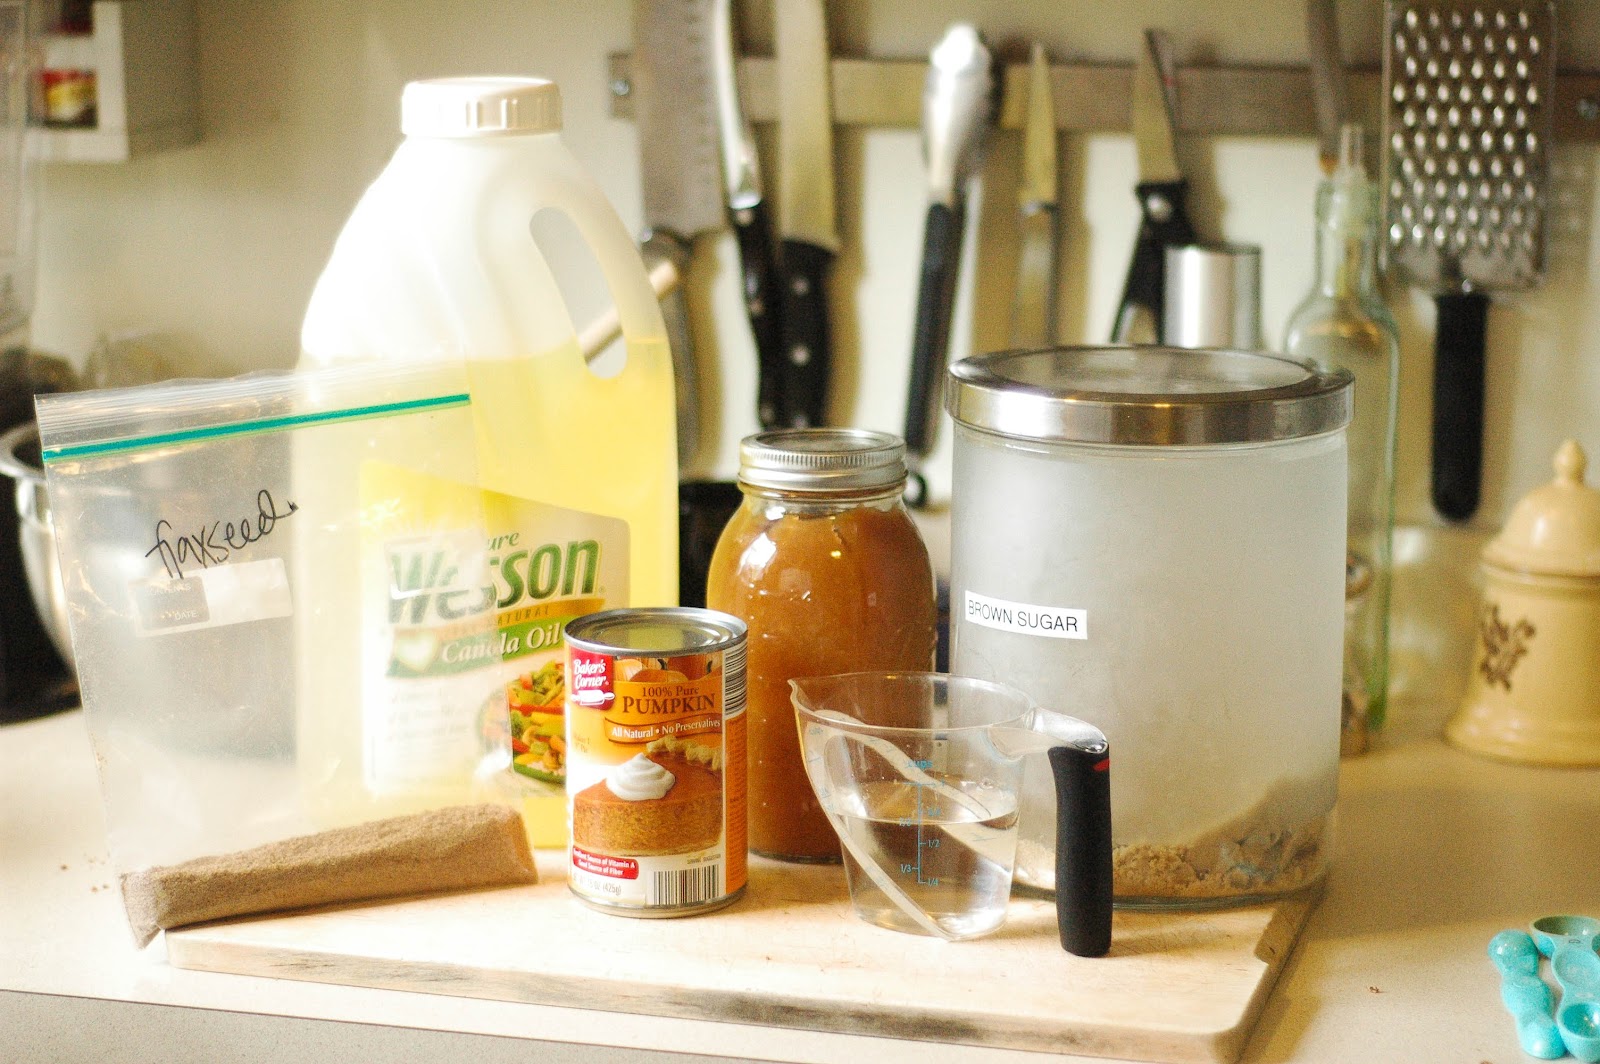
Wet ingredients: oil, applesauce, brown sugar, canned pumpkin, water (x2) and flaxseed eggs  (and the white sugar from the dry ingredients picture)


First, mix your flaxseed and water together to make your "eggs." You want to let this sit for a little bit before mixing it into everything else.


Oil your pans---I'm doing 2 regular loaves and 2 mini loaves and there was plenty.


Mix up all the wet ingredients


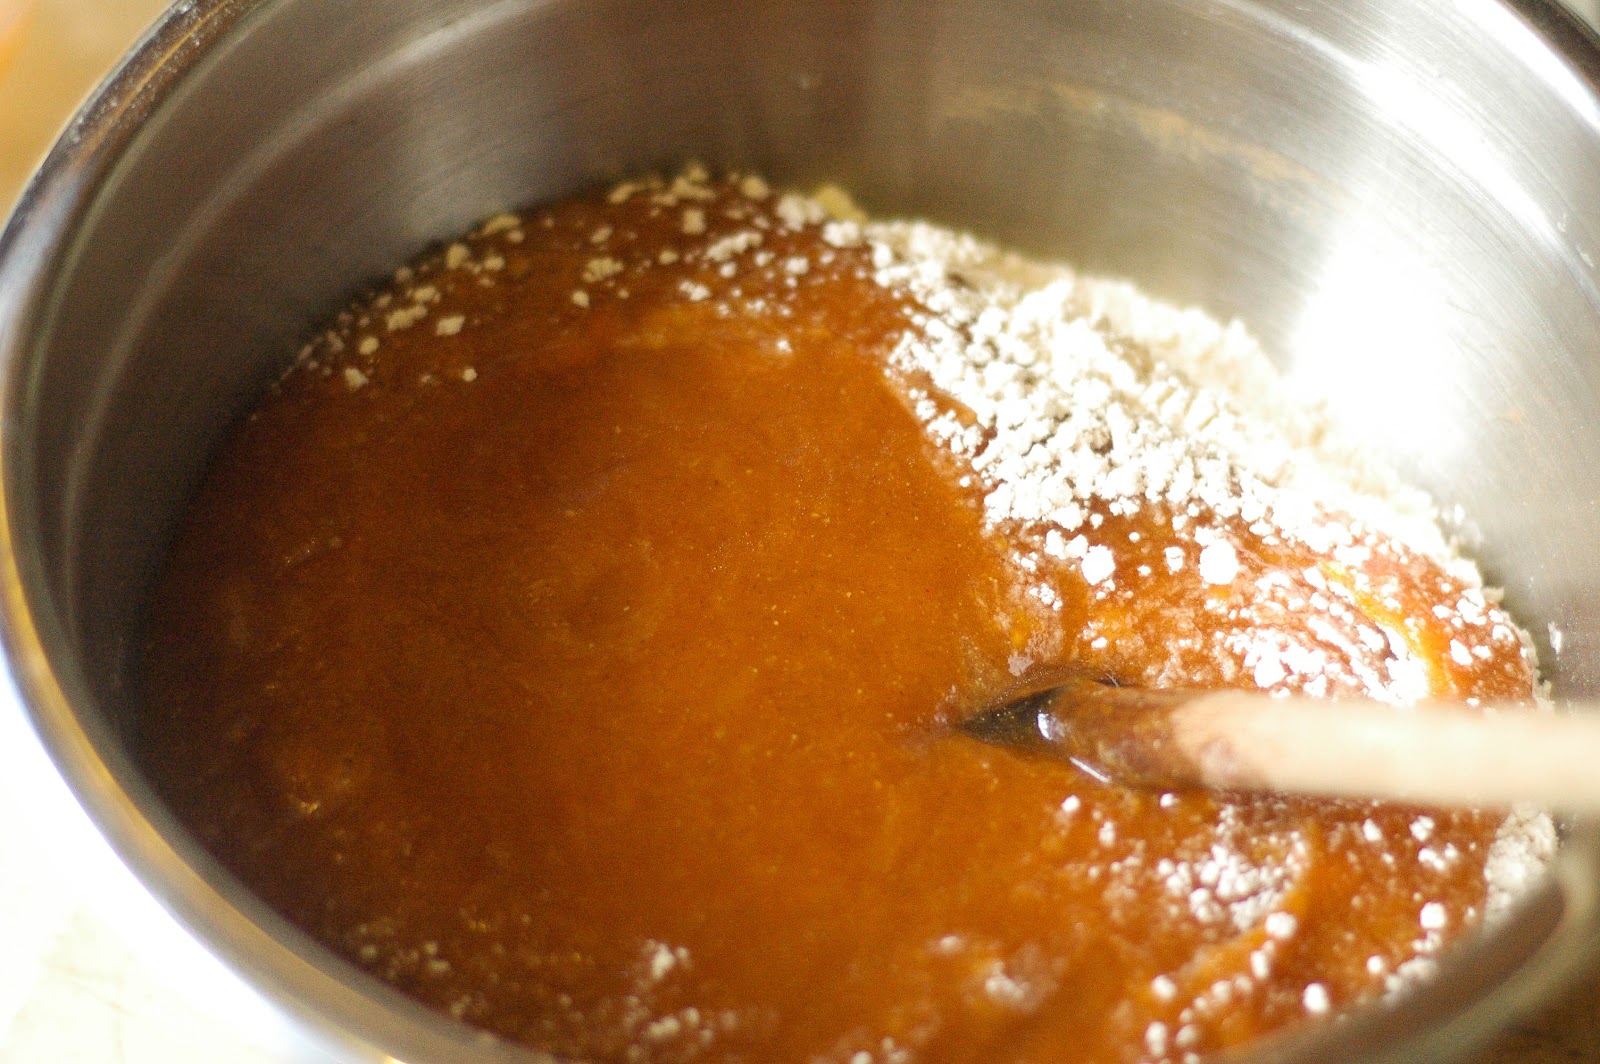
Then add wet ingredients into the dry ingredients


Mix, but not too much!


Portion into bread pans  and bake!


Yum!  Smells amazing.


There you have moist, yummy pumpkin bread, all food storage friendly.

 Food Storage Pumpkin Bread
original recipe by Bakingdom

3 1/2 cups flour
2 teaspoons baking soda
1 teaspoon salt
1 teaspoon ground cinnamon
1 teaspoon ground nutmeg
1/2 teaspoon ground cloves
1/2 cup canola oil
1/2 cup apple sauce
1 1/2 cups sugar
1/2 cup brown sugar, packed
1/4 cup ground flaxseeds combined with 3/4 cup water
1 15-ounce can pumpkin puree
2/3 cup water

Preheat oven to 350 degrees F. Combine flaxseed with water and let sit for a few minutes.  Oil bread pans.  Combine flour, baking soda, salt, and spices in a large mixing bowl. Combine all wet ingredients, including flaxseed mixture, in a small mixing bowl. Combine wet and dry ingredients and mix together until moistened.  Bake for 50 minutes or until toothpick inserted in middle comes out dry.

Friday, March 9, 2012

Food Storage Friday: Recipe Roundup 2

I've got life skills bread raising on my counter and chicken barley chili warming up (from the freezer) in the microwave.  Thought I'd share a couple of recipes I've made from around the web that are food storage friendly and delicious!


This MMM sauce from Peas and Thank You is made from nonperishable items and is amazing. It got a big thumbs up from Mountain Man. I served it over rice with a protein side, but it would be good on ANYTHING.

Next up, these Fig and Walnut cookies were a hit with the grownups in the house this week. I actually used chopped dates (find them next to the raisins) instead of the figs. Yum.  Thanks to the Smart Kitchen for that winner recipe.

Have a great weekend!

Saturday, February 11, 2012

Food Storage Recipe: Oatmeal Peanut Butter Balls

It's important to try to find healthy, filling meals for your food storage plan.  I also think it's important to have snacks and treats in your food storage plan!  If you had to eat for three months only from your food storage, wouldn't you hope that you have something snack-y and tasty on hand?  I know I would.

My mother-in-law sent me this recipe a few months ago.  It's easy, quick, and my my kids loved it.  Trifecta!  (Unfortunately, I don't know where this recipe originally comes from so I can't give credit where credit is due.  If you know, please tell me!).

Oatmeal Peanut Butter Balls
Ingredients

½ cup creamy peanut butter (you could use any nut butter)
2 tablespoons light brown sugar
2 tablespoons honey
½ teaspoon cinnamon
1 tablespoon milk (use powdered milk & water)
1 cup quick oats
Cinnamon sugar

Combine the peanut butter, brown sugar, honey, cinnamon, milk, and oats.  

Roll your dough into bite-sized balls (about 20-25), then roll in cinnamon sugar to coat.  Chill for 15 minutes.

(I did not roll mine in cinnamon sugar and they still tasted great!  These would also be really good with mini chocolate chips!!)
Enjoy!

Friday, January 27, 2012

Food Storage Friday: Almond Butter

Almond butter! No more will I have to beg my mother-in-law to bring jars of you from Costco to me in her suitcase!  You are simple and quick to make! Ahh, self-reliance, how good you taste.


 Ingredients: almonds

Yep that's it.  Although you will need a food processor or a heavy duty blender.


 I'm using roasted and salted almonds. But you can use raw, some people prefer the taste of raw. I just happened to have the roasted kind because it's good for snacking.


 Put the almonds in the processor, with the knife blade attachment.


 Turn the processor on. It helps if you have an overeager 4 year old to help with this step.


 Let the processor run. You can already see that there is a layer at the bottom which has already passed the crumb stage and the oils from the almonds are being released.


 A few more minutes and it's clumping into a ball of almond dough.


 Just a brief note about my processor in case you're interested. This is the only one I've ever had, so I can't compare it to others, but it made quick work of the almond butter.

I've seen around the web, this taking about 15-17 minutes to process so I guess it depends on your machine.  Also, raw almonds will take a bit longer to process than roasted ones.

If you prefer the taste of roasted and you already have raw, just pop them in the oven or on the stove top to roast them for a bit (at a low temperature, stirring frequently).


 After only 3 minutes, at this point I stopped the processor and scraped down the sides.


 After 6 minutes:  my white balance is off on the camera so the almond butter didn't actually get yellower, but check out how smooth that is.


 Put it in a container and refrigerate.  After testing it of course.

Almond Butter

2 cups of almonds

Process in food processor until smooth, pausing every few minutes to scrape down the sides with a spatula.  Store in the fridge.

*********************************************
If you're feeling wild and crazy try this recipe:

4 Ingredient Dark Chocolate Almond Butter

Or if you prefer peanuts:

Classic Crunchy Peanut Butter

Have any of you made your own nut butter before? 
It was so simple I'm kicking myself for not doing it sooner!


Saturday, January 14, 2012

Food Storage Friday: King Arthur Life Skills Bread

 We've made a lot of whole wheat bread on this blog in the last 3.5 years.  We've made quick wheat bread, half whole wheat bread, oatmeal wheat bread, oatmeal whole wheat quick bread, whole wheat french bread, whole wheat bread (the big daddy version in a mixer), another whole wheat bread made in a mixer, whole wheat bread by hand, and whole wheat bread in a bread machine. And that's just the whole wheat bread, we have loads of other recipes for white flour bread. 

So why another one? Not every family is going to like the same bread recipe, the more options we have, the better.  This recipe is the King Arthur Life Skills Bread Baking program recipe and I'm quite fond of it.

Some of the reasons I love this recipe:
  • simple ingredient list--after making it a few times, you will have the recipe memorized
  • 1/3 ratio of whole wheat to all purpose flour making it a great choice for introducing wheat bread to your family, or compromising how much wheat bread your family eats--I love hearty whole wheat bread but my kids prefer white bread, this is our compromise. Plus it works really well as sandwich bread for lunches
  • this recipe is made by hand, no heavy duty mixer required--sometimes it's nice to not have to clean the mixer
  • Umm, it's delicious!
Let's get started!

Ingredients: yeast, sugar, salt, oil

Whole wheat flour

all-purpose flour
and water.

To the warm water, add the sugar

yeast

and two cups of flour.

The original recipe says to add the 2 cups of whole wheat flour at this step.  Since I usually use the whole wheat flour in my freezer, I add 2 cups of all purpose flour at this step instead. I don't want my cold wheat flour to interfere with the yeast.  If you had just ground wheat flour, or you were using store bought wheat flour that was at room temperature, you could put the whole wheat flour in at this step.
Mix all together and let it sit for ten minutes while the yeast grows.

Bubbly yeast!

Next add the oil

and the salt

and mix.

Now add two more cups of flour. If you added whole wheat flour to the yeast mixture, you would use all purpose flour here. Since I did all purpose flour at the first step, this is when I add my 2 cups of whole wheat flour. Confusing?


Mix!


 Now add another cup or so of all purpose flour. Be careful! You don't want to add too much. It depends on the humidity in the air, but for this batch I only added 1 cup of all purpose flour, stirring with a wooden spoon.


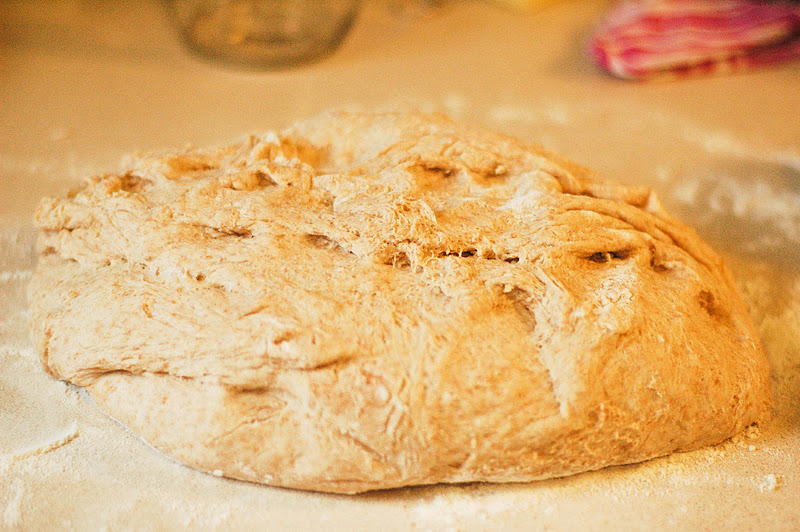
 Dump the bread onto a lightly floured surface.  It will be sticky, and that's good.


 Now it's time to use those muscles and knead the bread.  I wish I could take pictures with my nose, but I'm not that talented. Basically I use the palms of my hands to push the bread away from me, then pull it towards me with my fingers, repeat repeat repeat. Maybe I'll make a video if anyone's interested. It's kind of hard to describe kneading.


As you are kneading the dough, you will want to add flour so it doesn't stick to your hands. Use your fingers to sprinkle flour on top of the dough. Just a little at a time. If you add too much flour, your bread will be dense and heavy, we want light and fluffy.

Keep kneading until you have a smooth ball.  Let it rest on the counter for about five minutes. Then knead a little bit more, adding a dusting of flour as necessary.

 
 Pop the dough ball back in your mixing bowl

 Cover with a sheet of plastic wrap

 And a dish towel. Or just a dish towel...

 Let it rise for an hour and a half


 Gently deflate the dough by pushing down on it.

Dump it out on your counter top---I leave mine floury (no cleaning between). The dough should be light and soft.


Separate the dough into two sections using a serrated knife, and shape into two loaves.
 
 
 Put your loaves into greased bread pans. I just use my misto (cooking spray) to grease the pans.


Cover with the plastic wrap and the towel, and leave on your counter for another 30 minutes.
All ready to bake!
 
 Bake in the oven--the original recipe says 30 minutes, but my bread is always done after 25 minutes. 

Look at how beautiful the bread crust is!  Let the bread cool in the pans for a few minutes, then turn out onto a wire cooling rack.

 You don't want to leave the bread in the pans because the heat of the pans will make the bottom of the loaf soggy.

 Cool and eat! I like to freeze one loaf right away (otherwise we'll eat both loaves same day).  I freeze the loaf when it's still warm, but not super warm. It just barely fogs up the bag when you put it in. Then when you defrost the loaf, it really tastes fresh.


 Yum.
Double yum!

King Arthur Life Skills Bread 
original recipe here


2 cups warm water
1/4 cup sugar
1 Tablespoon yeast
2 cups whole wheat flour

Mix together and let sit for ten minutes.

Add:
1/4 cup vegetable oil
1 Tablespoon salt

Mix, then add:
up to 4 cups of all purpose flour. Depending on how much the dough needs--which could vary from day to day.

When it gets too hard to stir with the spoon, dump out onto a lightly flour surface and knead. Add dusting of flour as necessary. Knead into a smooth ball. Let rest for five minutes. Knead for a few minutes more, then place back into the mixing bowl. Cover with plastic wrap and a clean towel, let rise for 1.5 hours.

Deflate dough gently and turn out onto the counter top. Gently separate into two sections using a serrated knife. Shape into two loaves and place into greased bread pans.  Let rise 30 minutes covered, then bake at 375 degrees for 25-30 minutes.