-->
Showing posts with label Where to store food. Show all posts

Wednesday, October 12, 2011

Under-the-bed storage

Hannah here!

A couple weeks ago I mentioned that I would be sharing a little more in-depth about how I set up my longer-term storage under my bed.  I'll warn you, it's not too thrilling - but if I can even give one person some good ideas, it'll be worth it! :)

First, I gathered all my #10 cans of food.  I prefer #10 cans for my longer-term storage because I live in Florida, and the cans keep the pests out!  I sometimes buy my food already canned up, or in the past I have brought food to my mother-in-law's house and used the huge canner that we borrowed from church (we've done flour, beans, oats, sugar, powdered milk, hot cocoa mix).

For a few months, the corner of my bedroom looked like this:
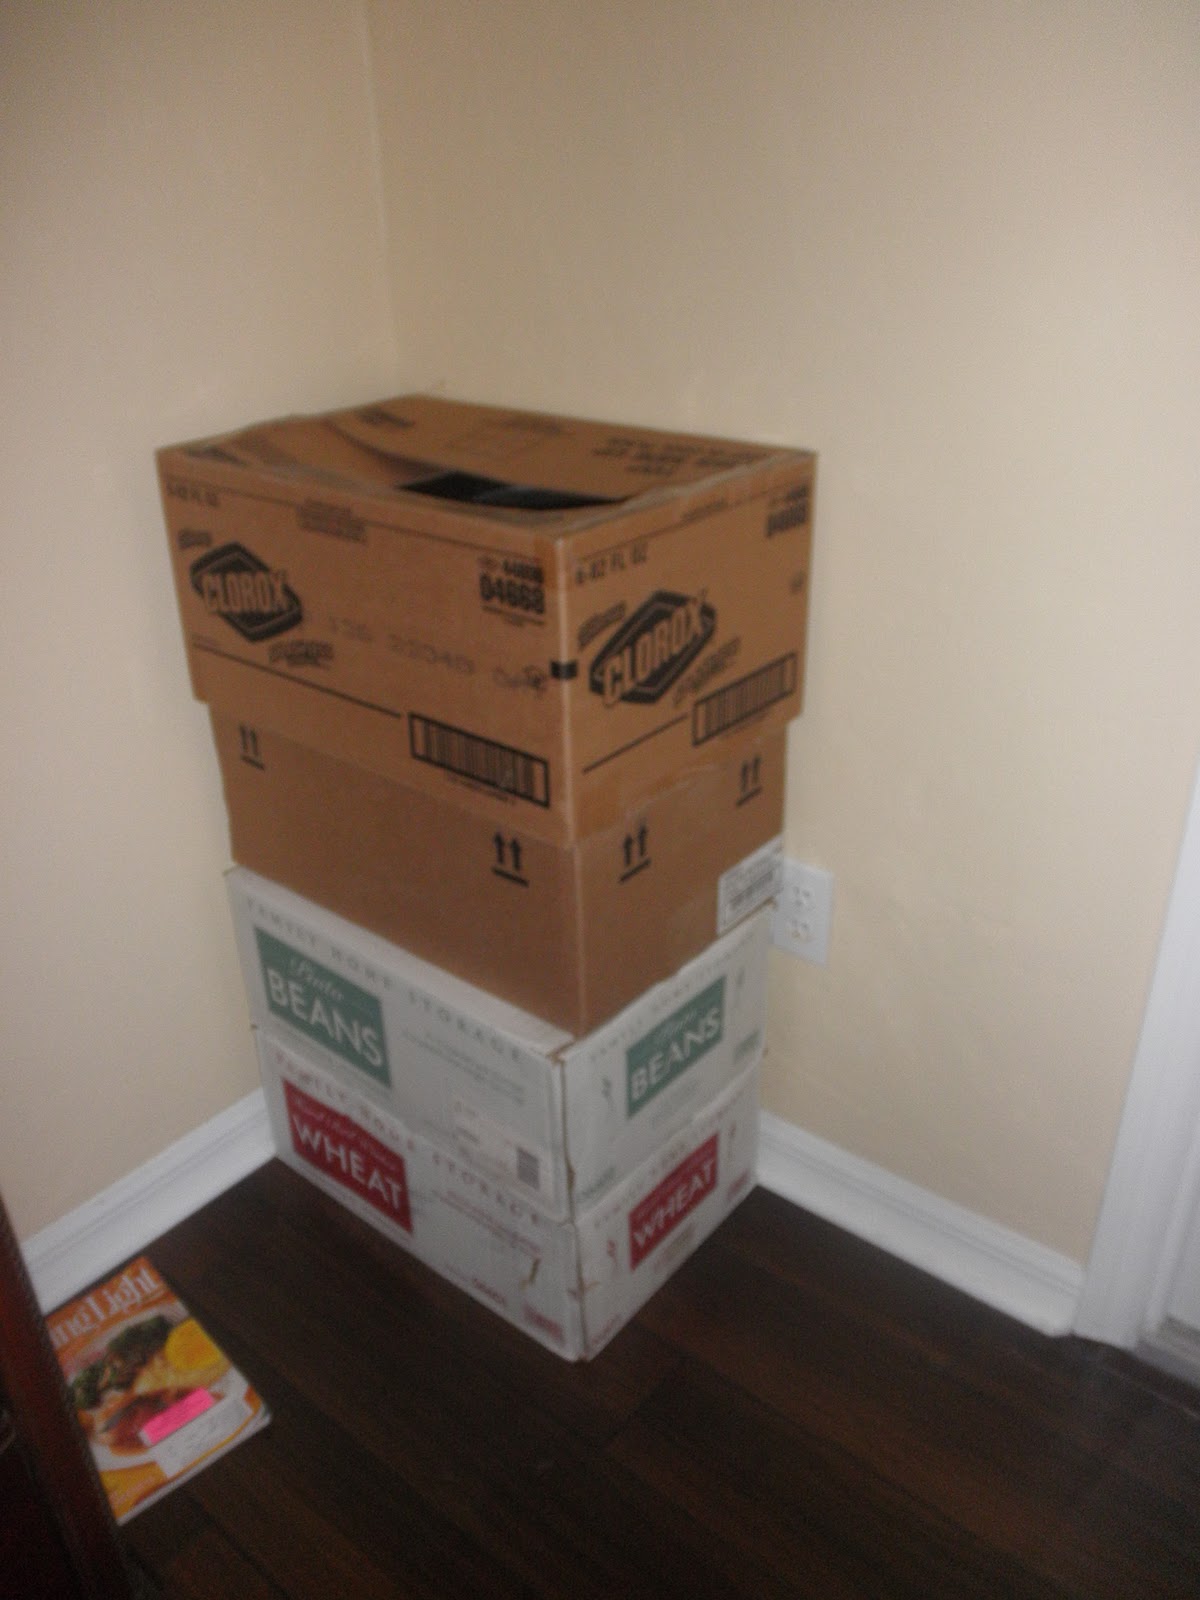
I also had random cans around the house that I gathered together:

We bought bed risers at Walmart for around $7, I think (for the 4-pack).  They are about 7 inches tall and seem sturdy.  I put a square piece of batting under each one so they wouldn't scratch the floors. :)  And, yes, under my bed it's very dusty and messy and just generally unkempt.  Ugh. (I guess the excuse "no one sees under there" doesn't apply to me!)

At first, it made me a little nervous to have laminate floors in my bedroom because I imagined that all those cans would scratch up the floors as I put them underneath or took them out.  Finally, I came up with a great solution (you'll see below)!

I used a permanent marker and labeled the cans all the way around the top so that I would be able to read what is in them, no matter what angle they are at under my bed.

(Side note: #10 cans are the perfect stool height for a two-year-old!)

 First, I slid all the boxes under the bed.  I felt pretty good about where they were, until I discovered that I had a good 8-10 inches of wasted space at the top of the bed!  At first I just figured that I would fill that space with just a line of #10 cans if I needed to, but then I realized that there was just enough space between the risers to push all the boxes up.  So, that's what I did!  They are pretty wedged in there, but I can get to them if I need to.

The boxes pushed up, all the way to the wall:

Next, I found a towel we never use and folded it in half long-wise (this is my solution for not scratching the floors).  This gave me just enough space to line up two rows of #10 cans.  Again, since I have the cans labeled all the way around, I don't have to place them in any particular way.  I did keep groups of foods together, though.

 Once the rows were complete, I simply pushed them all under the bed on the towel.  It didn't matter how heavy they were, because they just slid right in!  They also slide right out by pulling on the end of the towel, so I am thinking that rotation will be a bit easier now that my food is easy to get to!

Halfway there!  As you can see, we have two table leaves under the bed as well, and those are staying for now.  They are also acting as a support for the middle leg of our bed, which didn't get a riser (they came in a 4-pack).

Next, I lined up all my rice on a second towel.  I have more rice than anything else, as you can see!

A couple seconds and a couple pushes later, they were under the bed, neat and orderly.  Easy to slide in and out.

Finally, I made a list of exactly what was under the bed.....

.....and I stuck it between the bed frame and the box spring.  If I ever add anything under the bed, or take anything out, I'll simply edit this list as needed.  I even have a pen in there so that there is no excuse not to keep it updated.

So there you have it - my simple way of organizing my longer-term storage under my bed.  I am hoping that I can even add a second stack of cans on top of the ones I have under there now (I am pretty sure there would be space for some cans, but not as many as the first layer because of the bed frame, box spring beams, etc.).  I am also hoping to get a bed skirt someday so that our bed doesn't look so funny on those risers. :)

This method (using towels to slide food) would probably not be as effective if you have carpet in your bedrooms, but it might be worth a shot, especially if you can get to the other side of your bed and pull the towel under the bed instead of pushing it (does that make sense?).  What about flattened cardboard boxes - would those slide very well on carpet, if there were cans of food on top of them?  I'm just trying to throw out some ideas here!  Has anyone found a good method for under-the-bed storage?  Let us know!

Wednesday, September 28, 2011

It's About To Get Personal...

Moving, moving, moving! It's all we ever talk about right? Truth be told, a lot of you can vouch that moving can take over your life, and it did mine. Mountain Man and I had lived in Georgia for SEVEN years, and hadn't ever moved with kids, so it was quite an adventure. An adventure that I'm glad I won't have to repeat for quite a while.

Since we had to take a break, Hannah and I thought we would share a little bit about our families and what's been going on, as well as a little food storage tour of our new places.

So here goes...
As most of you know, I had a little baby girl at the end of last year, bringing our grand total up to THREE girls!

Mountain Man graduated (FINALLY) from all that higher education stuff. The girls thought it was rather boring: "No more graduating!"


We left Georgia...and my beautiful kitchen, where many a food storage friday was documented.


We drove for a very long time...


...and finally crossed into New York state.


I found my new cupboard kitchen.


And unpacked lots of boxes and various other items of junk we had accumulated.


We spent a few weeks getting to know the area, we decided we liked it.

Now school has started and Mountain Man is back to work and I am trying to get back on the bandwagon. The great thing about our new place is we finally have a basement! There aren't very many basements in Georgia because of pests and flooding, and I'm excited to utilize the space. The bad news is that we are a family of five in a 2 bedroom apartment, so space is really tight and the basement has to be used, not just for food storage, but also for regular storage, the playroom, laundry room and my sewing studio (Yay! I moved my sewing machine out of my living room!).

The other issue with our basement is that it is prone to flooding when it gets really wet outside (which I'm told is quite often) so nothing can be placed on the floor--especially not food. So knowing all those factors, here is a little tour of where I have begun my itty bitty food storage.

To check out a tour of my food storage in my old house, click here.


I have a pantry in the closet kitchen, where I keep a lot of my food stuff, but a lot of it doesn't fit, so my pantry is extended to this shelving unit at the bottom of the basement steps. I have my cansolidator on it as well. Notice how all my food is on the shelves, I'm not storing anything perishable on the floor. There's a lot of room to grow here.


In front and next to the shelves, are my emergency essentials buckets containing rice, wheat, and flour. My sugar bucket is currently empty and needs to be cleaned out before I refill it. Next door, so to speak, is my deep freezer.


Across the room is another shelving unit that I have dedicated to longer-term storage, like my #10 cans and mylar pouches. We tried to eat a lot of this stuff before we moved, because it's heavy, so this is all we have left. I still need to find out where the closest cannery is, but I'm going to have to be inventive when this unit fills up because I lost my prime can-hiding space (behind the couch) in this new place.


On the top of the longer-term storage shelving unit is the small amount of canning I was able to do this year: pickles, salsa (this is the recipe I use), and jam, we missed strawberry season, so we improvised with cherry-peach jam and blueberry-peach jam--amazing!

So this is where I'm starting from. I'm going to be joining the weekly posts in order to bring my food storage up to speed. I'm glad to be back, and I'm glad that YOU'RE glad that we're back!

What is your favorite thing about moving?


I have lots of un-favorite things (is that a word?) but my favorite thing is being able to reorganize things and have everything have a spot. And I really like using my label maker.

Wednesday, April 6, 2011

Food Storage Hunt: Hannah

We hope you've enjoyed our Food Storage Hunt: Where do Food Storage Bloggers Store their Food Series. Wow, that's a mouthful.


In case you've missed it, here's the bloggers we've featured:

Abs From Safely Gathered In
Liesa from I Dare You to Eat It
Aleasha from Safely Gathered In
Wendy from iPrepared
Rick from Family Prepper
Julie from Food Storage Made Easy
Crystal from Everyday Food Storage

We've loved seeing everyone's take on how to store food. Thanks all for participating. Today we'll have our last feature: Hannah!

First, may I remind you that I am moving in June, so my food storage has dwindled quite a bit over the last few months (we're eating through it now, then hopefully will replace it quickly after we settle into our new home).  Also, to be honest we haven't had much food storage over the last year because we just moved into this apartment last June (my husband is an intern right now, and will be starting his radiology residency this June in Florida, hence all the moves!).

First of all, I can't really complain too much about the storage space we have here, because we have walk-in closets in both bedrooms.  However, since we have no garage or shed, our closets are full of things like tools, a dolly, a ladder... you get the picture.  To be honest, our new home in Florida won't have a ton of storage space, but we will have a garage, so all the non-food storage items (like tools!) will be out there, freeing more space in the house for our food storage.

So, I know you want to see pictures so here they are!

This is our little hall closet.... I keep some of our three-month supply on the bottom 2 shelves.  Clearly needs some organization right now......

This is my kitchen closet... it's narrow but I'm so grateful to have it!  You can see that I keep some #10 cans of food on the bottom.  With a bit of organization I could make the space work a lot better, I'm sure.

 I also keep boxes of #10 cans under my older daughter's bed.  There's also some bottled water under there.


Also, since my girls' clothes are pretty small (and short), there was a lot of empty space under their clothes hanging up in their closet.  So, I have a big box of #10 cans under there.  White flour, wheat, oats, sugar, powdered milk.  If we were going to be here longer than a year I would have put more effort into organizing.

This is an old wooden crate that I found at an antique store a few months ago.  Right now it's on its side acting as a little nightstand in my girls' room.  Inside, there is food storage!

Here's another wooden crate in my little laundry closet... ignore the cooler sticking out the top.  There is also food storage inside.

The other side of my laundry closet has my dehydrator and hand mill.

Finally, this is another crate that I found at the antique store.  It's a banana crate and I love it!  Right now it's sitting on top of our TV armoire and... you guessed it!  There is food storage inside.

I am excited it move into a new home and come up with some new ways for storing food in a new space.  I'm not going to lie, it's been difficult to stock up on food storage over the last year since we are so transient right now.  I don't think that's a very good excuse, though, since many of you are much more transient than I am!  I really admire people who moved a lot yet still have a good supply of food storage.

Anyway, soon I'll have a new place with new ideas (hopefully!).  Once we're all settled, Abs and I will both have to give you tours of our new food storage spaces (since she is moving too!).

Thursday, March 31, 2011

Food Storage Hunt: Everyday Food Storage

Are you enjoying our Food Storage Hunt series? We are!


Today, Crystal from Everyday Food Storage is taking us on a video tour of her food storage space.


Thanks Crystal! She has great recipes and food storage ideas at Everyday Food Storage, check it out!

Wednesday, March 30, 2011

Food Storage Hunt: Food Storage Made Easy

Julie from Food Storage Made Easy is here today to share her food storage space.


Here are some tips that I have found have made my food storage more
organized, useful, and rotated. I find building and using your food
storage to be an ever changing thing, and I keep adapting as I learn
more. I have a food storage area in an unfinished part of my basement
(I know we're lucky to have basements). I also have a little cupboard
space upstairs I use for day to day cooking.

MY FOOD STORAGE AREA: I call this my food storage
area, because it's just against a wall in my basement. In my "dream"
home, I'll have a whole dedicated room, with all sorts of super cool
shelves and stuff, but for now this is like heaven compared to my
condo before. I have three areas along the wall. One is for long term
foods, the shelves are for three month supply, and I have an area for
water. Ok- ok, I have a fourth area - it's called a big fat pile of
non-food items, and appliances that are waiting for a new shelf area
I also keep some water and my 72 hour kits upstairs in case we had to
evacuate, or my whole basement got smooshed in a disaster. Oh and this
reminds me, I need to put up a blanket against that window to block
light from getting onto my long term food. I just moved everything
around and before this wasn't an issue. Light makes food go bad
faster.


TIP FOR KEEPING MY STORAGE ORGANIZED: In my food
storage room downstairs I try to keep like foods together on shelves.
That way I can quickly get stuff assessed and know where everything is
easily. I like to keep fats together, sugars together, condiments,
and all sorts of other logical (to me) groupings.


TIP FOR MAKING USING FOOD STORAGE EASIER: I put all
the ingredients I need for making bread on one shelf in one of my
cupboards. That way when it's bread making day, I just pull all the
things off that one shelf and I'm ready to go. Having to dig, and push
through other ingredients is something I have always hated about
baking, so this way I'm ready to go right away.


TIP FOR ROTATING MY FOOD STORAGE: These are ALL the
cans in my upstairs pantry. How is this Food Storage? Well you see by
keeping very, very few of my three month supply types of foods
upstairs, I am FORCED to go downstairs to get food out of my food
storage and use it. When I go grocery shopping, I come STRAIGHT home
and put my food in the basement. Then when I need food, I have to go
down there (send one of my cute little kids) to get it. I know it
sounds annoying, but if I don't do it this way, I'd end up using
everything I just barely bought first, and my food storage in the
basement would just collect dust.


TIP FOR USING MY LONG TERM FOOD STORAGE: One way I
encourage myself to use my long term food storage such as grains and
legumes is I keep smaller containers of them upstairs. I know this
contradicts my previous tip a little - but it's different- trust me. I
save containers from nuts I get at Costco and use them to store the
smaller quantities of my long term foods. This makes making pancakes,
or muffins and all that kind of stuff with whole grains a lot easier.
I also use my legumes a lot more in soups and chili's.


TIP FOR REPLACING FOODS I'VE USED: Placed
conveniently on a work table right next to the food storage is a pad
of paper for me to write down things I take out of my food storage so
I can replace them next time I'm shopping, or next time there is a
sale. My dear husband knows if he takes something off a shelf he BEST
be writing it down on that paper - or else ;)


HEY WAIT! How did this get in here. Ok fine- when I
go grocery shopping I DON'T immediately put the food in the basement.
I put it on the stairs DOWN to the basement and deal with it later.


For anyone feeling OVERWHELMED right now- here's a
look at what my food storage area looked like 3 years ago. THIS was my
before and after. Through a lot of time, dedication, and sacrifice (no
Disney trips for us) I have been able to build it up to a little less
sad than it was.


Thanks Julie! What an inspiration. With sacrifice and hard work, you can have a great food storage just like hers. Be sure to check out Food Storage Made Easy for more great tips and ideas.

Thursday, March 24, 2011

Food Storage Hunt: Family Prepper

Rick from Family Prepper is here today to share his food storage space and ideas.


Food Storage doesn't have to be fancy or pretty. It just has to work. It is easy to start. Just find a corner or space that is cool and dark. I chose the space beneath my basement stairs. It's pretty much empty unused space anyway.

My Food Storage started with just a few 5 gallon jugs of water:


I built some shelves to add to the space. After that I started adding cans of extra's; you know extra tomato sauce or cream of chicken. Anything we normally used I just added a few extra can's and sent it to the "Pantry"...


This is pretty much how it started. Oh and on the bottom shelf is stuff we canned from the garden. As you can also see a few arms to protect ourselves per the second amendment of the US Constitution!

Gradually we added to the "Pantry" to include some good 'ole rice and beans:


As you can see it is still under construction. I intend to add a root cellar off the area when I have some time and money. To extend our storage from our garden. This was last year's mid-season growth:


I've learned a lot about gardening this year and anticipate a much better year.

Of course we continued to add water, since you can't live without it...


We also started adding pastas and oats:


A few bucks here and there and we have started to build a food storage. At this point in time we have approximately 3 months worth of food on the shelf and are beginning to look at long term food storage options. However, every person that starts storing food for emergencies is one more family that isn't out on the streets searching for food when catastrophe strikes!

Photobucket


Thanks Rick! Building a food storage supply definitely starts little by little. Don't ever think that you can't do it. Just keep adding little by little and you'll get there. Be sure to check out Family Prepper for more great ideas.